dark blue paint

Materials needed for this wood trim project:
wood trim


I chose to make all edges of the trim be 45 degree angles. This allows a seamless connection between the individual pieces. Making it fit together like a picture frame. I achieved this by using my miter saw. Setting it at a 45 degree angle.


white paint
nail gun
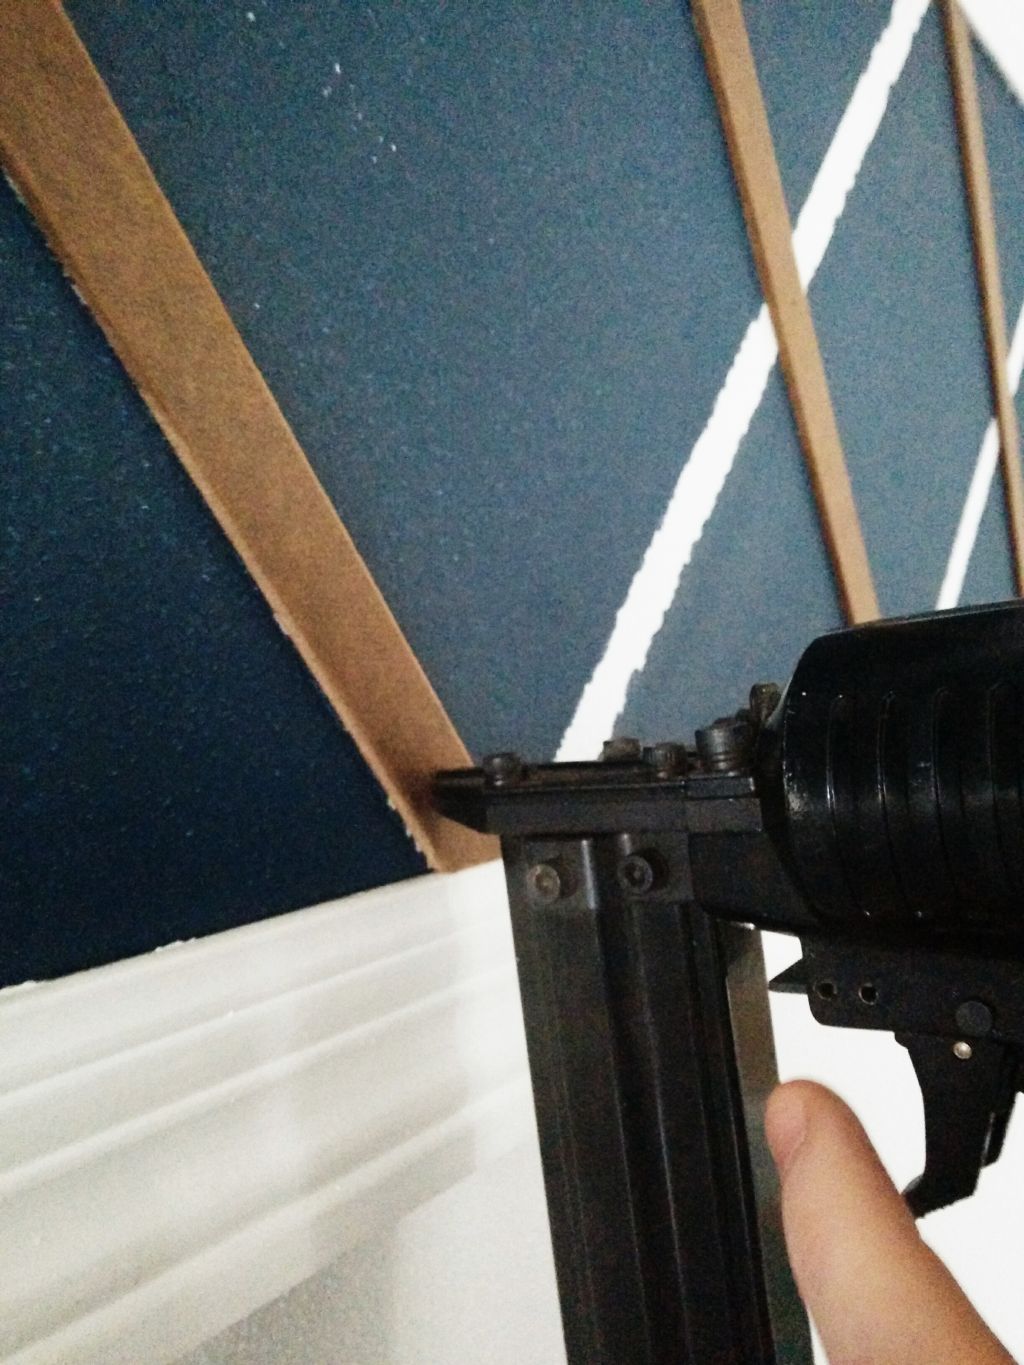

One X each had one long piece. Then where the split of the x is the other one was cut twice. To make the top and bottom portion of the other X part. It was a long process but one that was needed in order to salvage this project.
Adding wood detailing to a space is big right now. And for good reason, it adds a visual to a space, is more creative then a pictures on a wall, and warms up any room with the addition of the wood. But to try and do something different and fresh using wood detailing is becoming more difficult, it has all been done before. It’s time to get creative when using decorative wood trim.
How to add decorative wood trim to a wall:
Before I cut I used a protractor with a 45 setting to draw a line from my mark on the wood trim going in. This allowed there to be no confusion on my part where the angle should be cut.
Step 1: Position the laser leveler


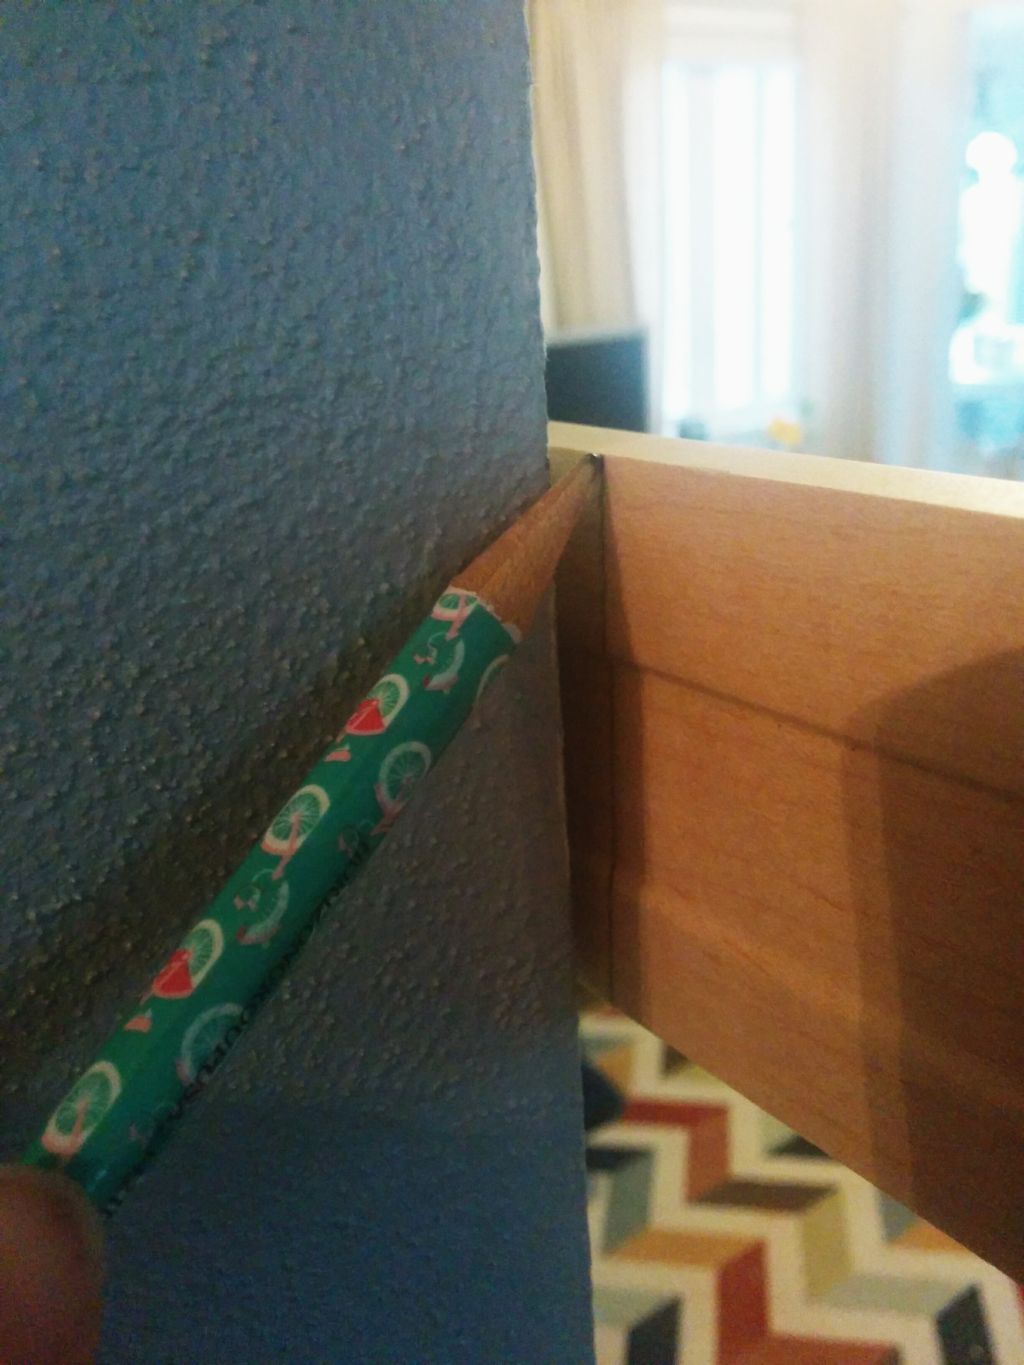
While that was drying it was time to cut the wall trim that will be used to frame the feature. The type and style of the trim is personal. I chose one that is 1 inch thick and 3 inches wide. With some ridges to give the look a subtle visual. I set the trim piece up on the wall. And then marked with a pencil where I needed to cut.
Step 2: Line up the chalk line above the laser line
While that was drying it was time to cut the wall trim that will be used to frame the feature. The type and style of the trim is personal. I chose one that is 1 inch thick and 3 inches wide. With some ridges to give the look a subtle visual. I set the trim piece up on the wall. And then marked with a pencil where I needed to cut.
Step 3: Mark two lines at the top and the bottom
While that was drying it was time to cut the wall trim that will be used to frame the feature. The type and style of the trim is personal. I chose one that is 1 inch thick and 3 inches wide. With some ridges to give the look a subtle visual. I set the trim piece up on the wall. And then marked with a pencil where I needed to cut.
Step 6: Paint the wall
While that was drying it was time to cut the wall trim that will be used to frame the feature. The type and style of the trim is personal. I chose one that is 1 inch thick and 3 inches wide. With some ridges to give the look a subtle visual. I set the trim piece up on the wall. And then marked with a pencil where I needed to cut.
Step 7: Cut the wood trim
While that was drying it was time to cut the wall trim that will be used to frame the feature. The type and style of the trim is personal. I chose one that is 1 inch thick and 3 inches wide. With some ridges to give the look a subtle visual. I set the trim piece up on the wall. And then marked with a pencil where I needed to cut.
Step 9: Paint the wall trim
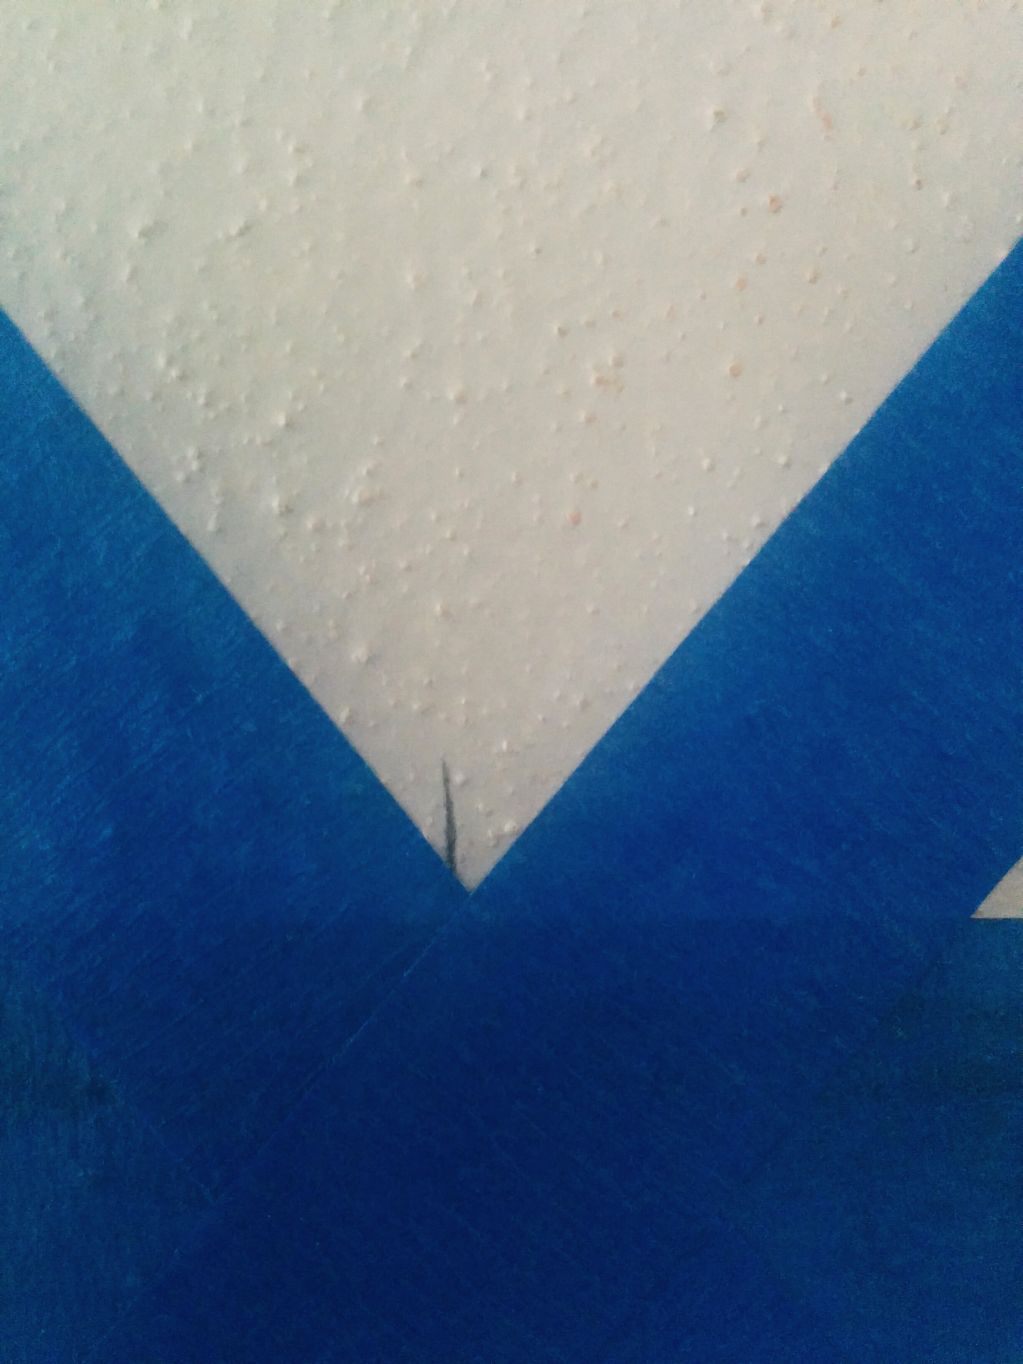
I did this for both my top and bottom lines. Once the lines were good, I used painters tape along the whole lines. This will allow me to use the paint and keep it within my allotted area.
table saw
Step 10: Remove the tape
After each cut of each trim I lined them up to determine if it was the correct angle and had lined up properly. Sometimes you may need to shave off a little bit here and there to make is be as snug as possible with the fit.


Step 11: Come up with a plan to solve this complication
laser leveler

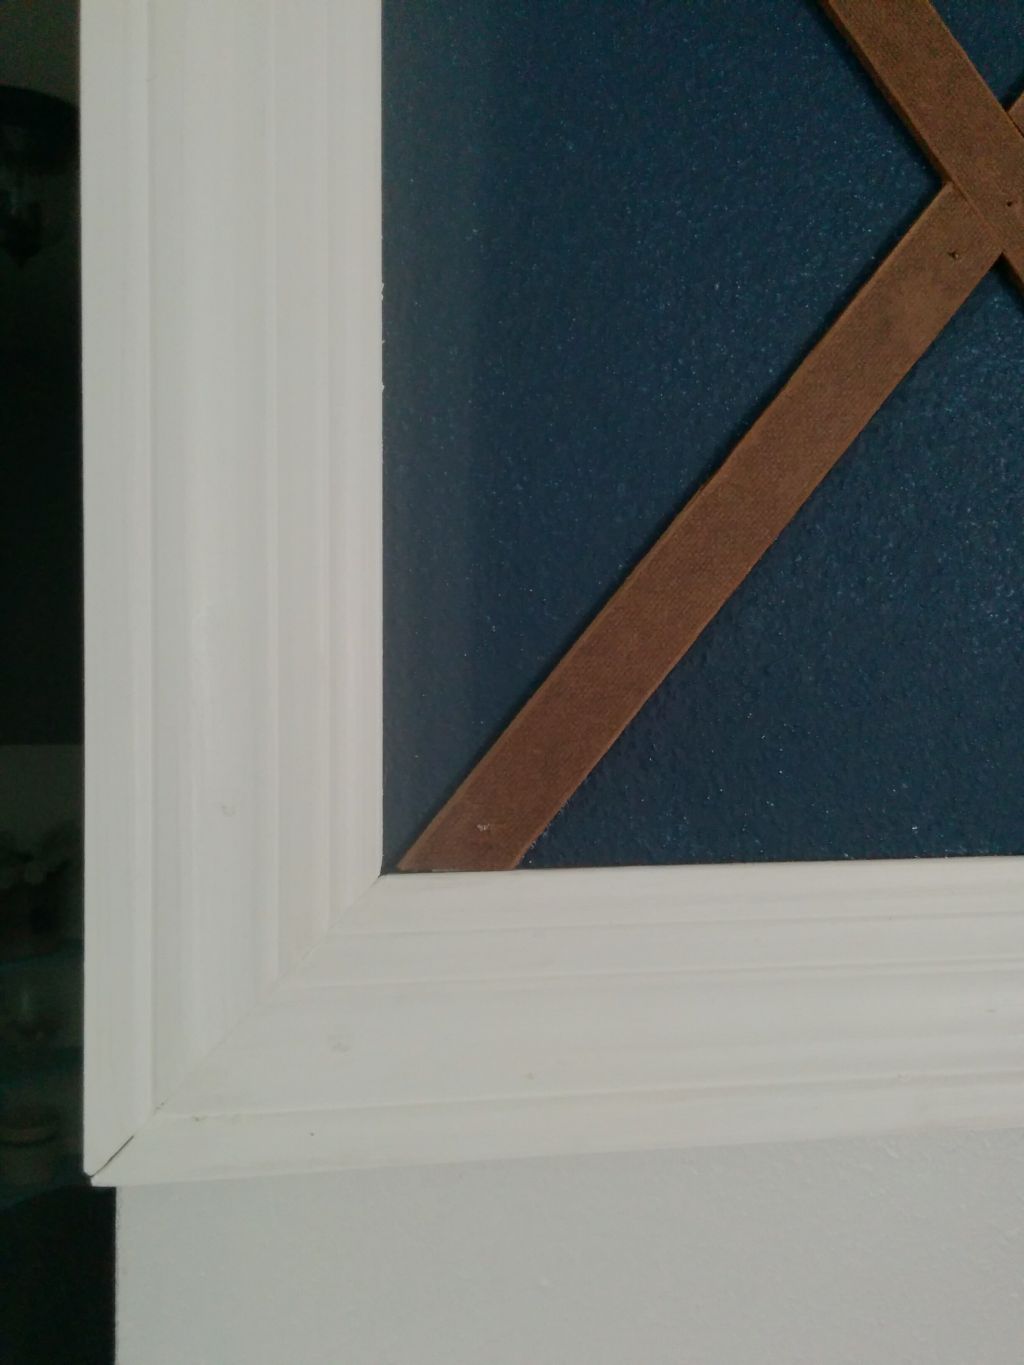
Then, finally. This was done! It was a long process, one with a really big hiccup. But if I am being honest I am so happy with the last minute addition of the two tone wood look. The Masonite has a great appearance of dark wood, I have dark wood floors in my home, so it all flows wonderfully. My initial plan to have the x’s be white would have been great too. And less work!
Step 12: Install the wood trim

I pulled it off and right away saw a huge problem. With all of the pushing I had done on the tape to make sure it was on tight. My walls have a finish that is rough on it. There is small little bubbles similar to soft sand paper. It is throughout the whole house and supposedly makes stains and smudges harder to stay on the wall. It also makes tape harder to stay on the wall. My lines were horrible. There was portions of paint all throughout the lines.
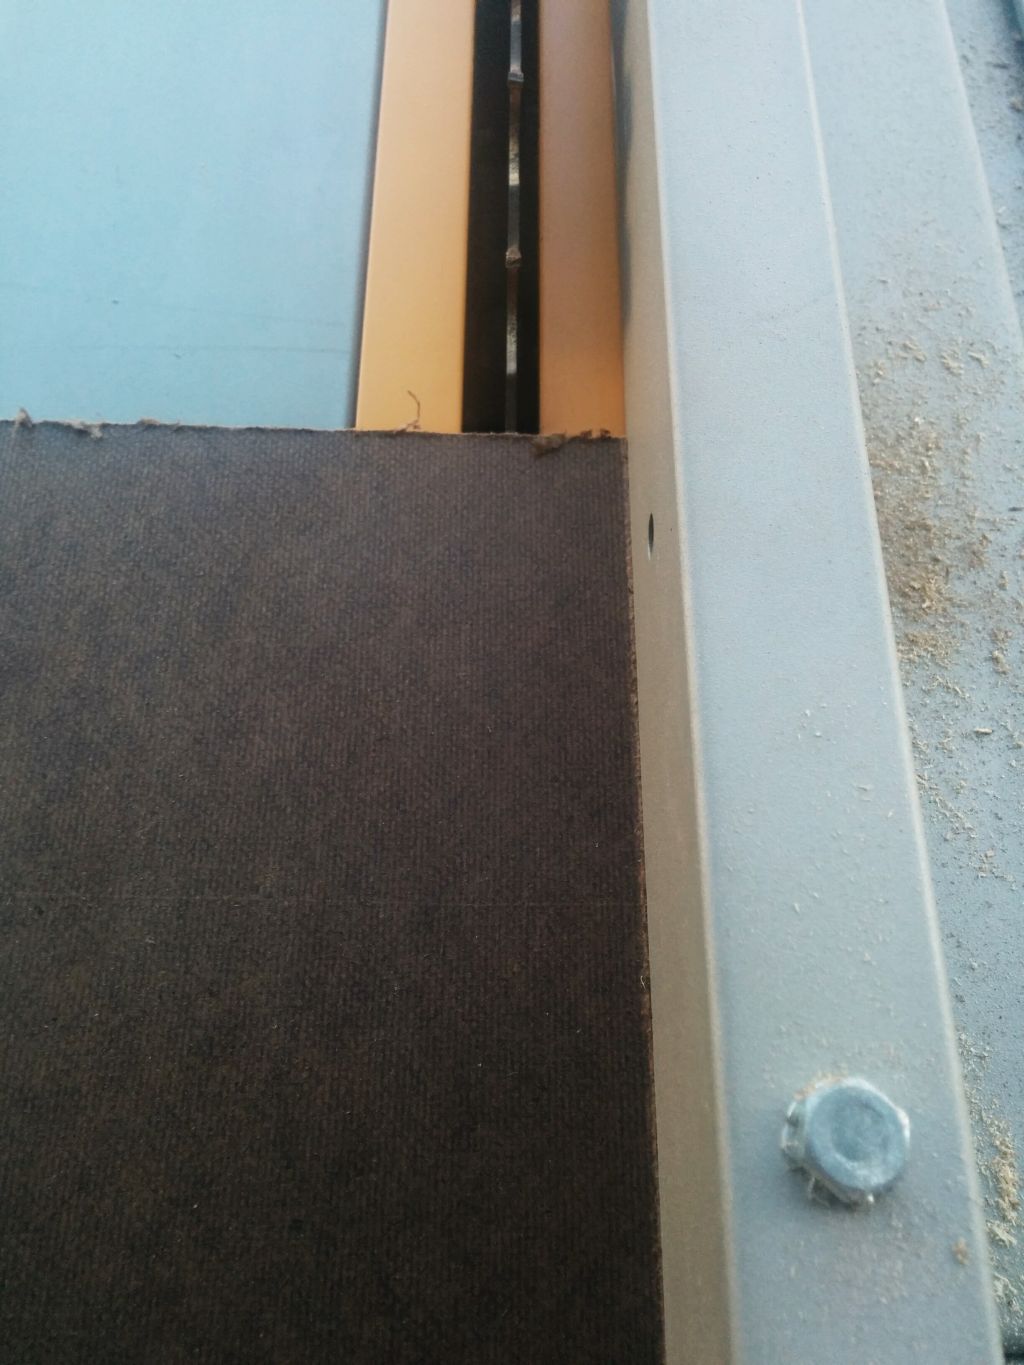
Step 13: Cut the Masonite into thin pieces


Once all was taped up, it was time to paint. I used a dark blue. A Dutch Boy Chancon Bleu with the primer already in it. With the color on the wall previously a very, VERY light gray a primer would not have been needed. But if you are painting over anything with a color on it a primer, or paint and primer combined will be needed to cover it up. Also the way this design works is the color under this will be what the X portion will show. So if you want white to show through you will need to paint the whole area white, before the X’s are taped on.

miter saw

Step 13: Install the Masonite
I began by first realizing that in order to make this work out right, everything needed to be precise. My top and bottom to the feature needed to be level and even. I succeeded in keeping this level using a laser leveler.
painter’s tape
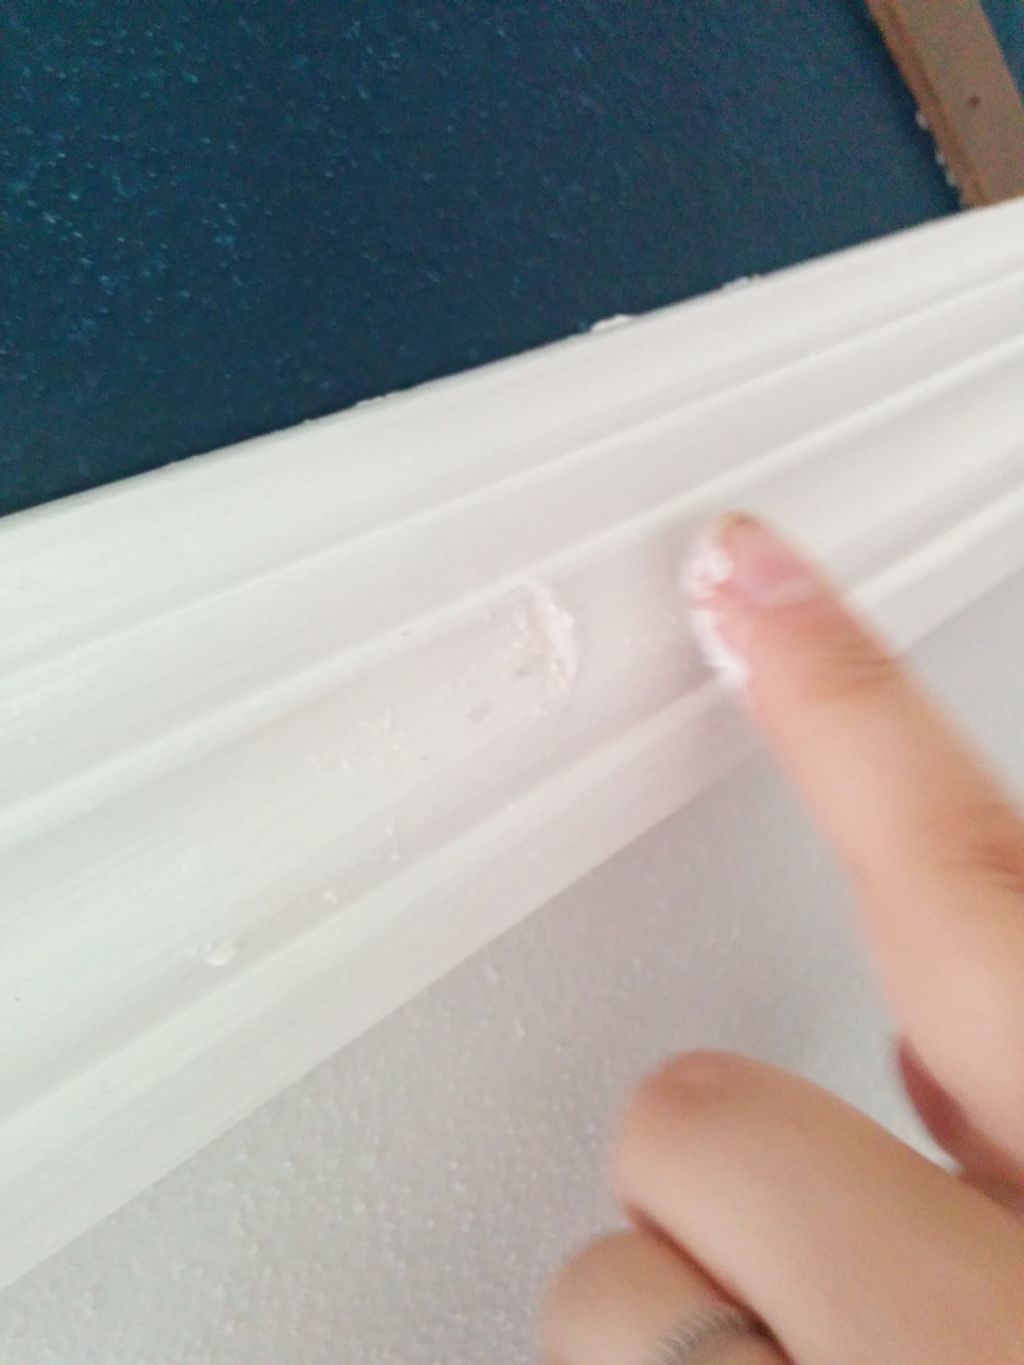
Step 14: cover the nail holes with wood putty
I could not paint white on those spots, with the blue being so dark, the smudges would still have shown through any white I put up. And I don’t know if I would have been able to make the lines as precise as was necessary. It was damage control time. I will say that if you are planning on doing this at home you should have no problem getting the desired effect of the white paint coming through where the X’s are. If you have a textured wall you may have to do what I ended up having to do.

Step 15: Step back and enjoy
So I added a little twist to the idea. Starting with some x’s, X marks the spot, and this spot is the happy place in using wood to decorate a feature wall.
I placed the level on a stool, and played around with height difference by adding and taking away books until the laser line was at my desired point. Then made sure both sides were level.


I used a table saw, set it at the desired measurement and pushed the Masonite through. Cutting out one at a time