Wrap the end of your wick around your bamboo skewer and center it in your pumpkin, taking care not to pull too tightly on the wick and pull it out (unless you’ve waited for the super glue to dry, which I hadn’t).

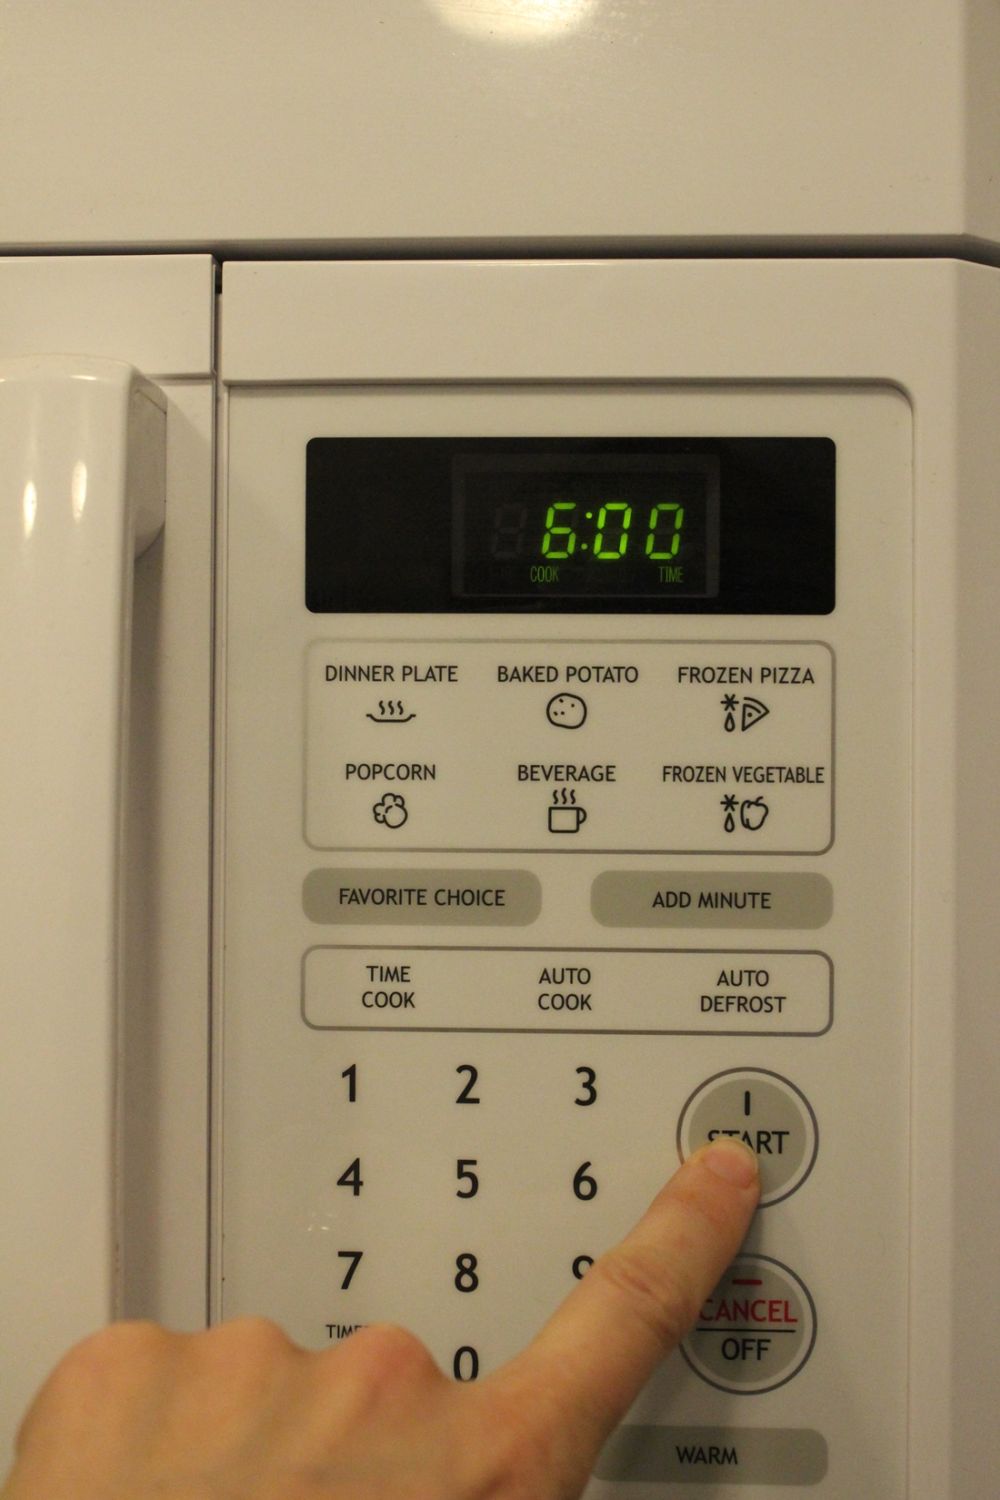
Microwave on high for 3-6 minutes, depending on the wattage of your microwave. Check on it every minute or so; you’ll want to stop it once it looks melted and is a clear yellowish color. Can you see how much it melted down? The melted wax is about half the volume of the flakes.


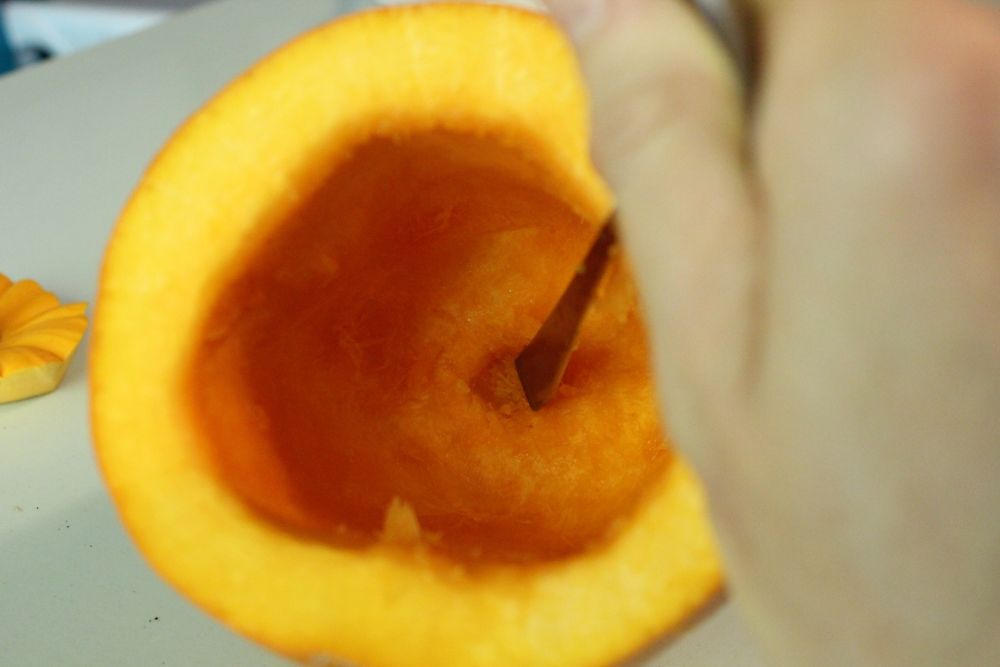
Use a spoon end or something similar (screwdriver would work, too) to flatten out the bottom of your hole.
DIY Level: Beginner
Remove the insides. Save and roast the seeds if you want your family to love you. Otherwise, chuck it all.
Materials Needed:
- Pumpkins, small to medium
- Soy candle wax flakes
- Cinnamon stick candle scent (or whatever Fall flavor you’re after)
- Natural candle wicks (at least as long as your pumpkins are tall)
- Bamboo skewers or pencils (at least as long as your pumpkins are wide)
- Super glue (not shown)

Step One: Carve out insides

Okay, so there’s lots to love about Fall…including this super fast and easy DIY candle project. It looks great for the season and smells even better.

Stir in your candle scent with a metal spoon into the hot wax (plastic spoons will melt). You can do as much or as little as you want, really; this is a preference thing. For your reference, I used about 3tsp scent in this cup of melted wax, and the aroma is nicely discernible but not overly strong.
Let the wax harden for several hours, taking care to leave it completely alone. Cracks will form if the pumpkin is bumped during its curing time.

Step Two: Make circle
Begin by opening up your pumpkin so you can remove the insides. You can open it up at any point (unlike traditional jack-o-lantern carving), even further down the pumpkin. Just think how tall you’ll want your candle, and cut it at that point.


Put a little super glue onto the bottom of your metal wick base.
Step Three: Glue
The post DIY Cinnamon Pumpkin Candle – Create Fall’s Favorite Aroma appeared first on Homedit.
(Bonus, you can do it in under an hour from start to finish (except for letting the wax harden, but that’s just waiting time and doesn’t count). Let’s do it so your house can smell as cozy and inviting as all cinnamony things do.)
Step Four: Add wick
Another alternative idea is to include multiple wicks into the same pumpkin. I had one pumpkin that was wider than the others, so I used three wicks in it and, instead of wrapping the wicks, simply used the skewers to prop the wicks up while the wax cured. Each of these methods worked equally well.

Step Five: Wrap around skewer
The smells of Fall and Thanksgiving are probably my favorite part of the season. Along with the gorgeous leaf colors. And the crisp bite in the air.

Step Five: Prep wax

When the wax has hardened completely (I left these overnight, just to be sure), trim off any wick in excess of 1/2″ to 3/4″ from the top of your wax.
The DIY cinnamon pumpkin candles look well paired together or as a single piece. I’d hesitate to place them on wood for a long time, though, simply because the pumpkin itself isn’t going to last that long, and you don’t want your wood to be affected by the pumpkin’s aging.

Step Six: Add scent

If your wick is much longer than your pumpkin’s height, just wrap the wick around the skewer more times. You can trim it later.
Step Seven: Pour wax
Place the wick into your hole and press it down.
Step Eight: Let dry

Make sure the inside is relatively smooth, particularly the bottom where you’ll be sticking the wick.

Pour the hot wax into your pumpkin, taking care that the wick remains in place as you do so.


Step Nine: Trim

Carve out a small circle, the size of your metal wick base, in the bottom of your pumpkin. This will help the wick stay in place better.

Light ‘em up. They look so festive and seasonal, but the smell is what gets me. It changes the whole feel of the house, really. And they won’t last forever, so enjoy them all day, every day for now!

Place about twice as much volume of flakes as the inside of your pumpkin will hold into a microwaveable measuring bowl. You could also do this in the double broiler, if you prefer that method.
