
The best way to make paint drip is to use gravity to your advantage! Place the glass vase upside down to let the paint drip (with towels below, of course.)
The post DIY Paint Drip & Milk Glass Vase appeared first on Homedit.
How To Paint Glass Vases
Pro Tip: Thick globs of paint are easier to scrape off glass than thin streaks, leave the thin ones be.

It’s an easy way to bring new life into any space of your home, and you can choose any color or size of vase to fit your needs.
Painting DIY Level: Beginner
The easiest way to fix dried paint drips when painting a glass vase is wait for the paint to dry then gracefully remove with your fingertip. If the paint dried is too thin, you’ll likely have to use a tool to scrape away the drips.
Paint Dripping Art Materials Needed:
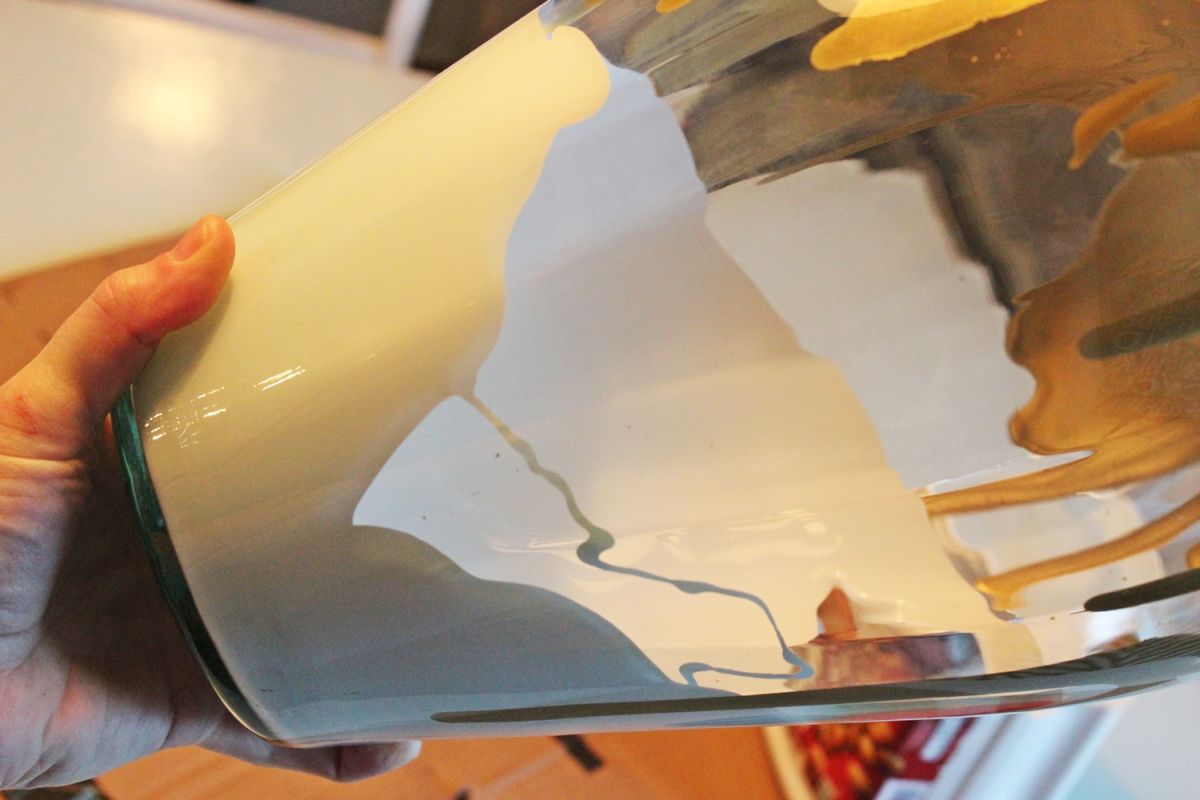
To achieve the look of milk glass, all paint should be applied to the inside of the glass.
- Clear glass vase (any size)
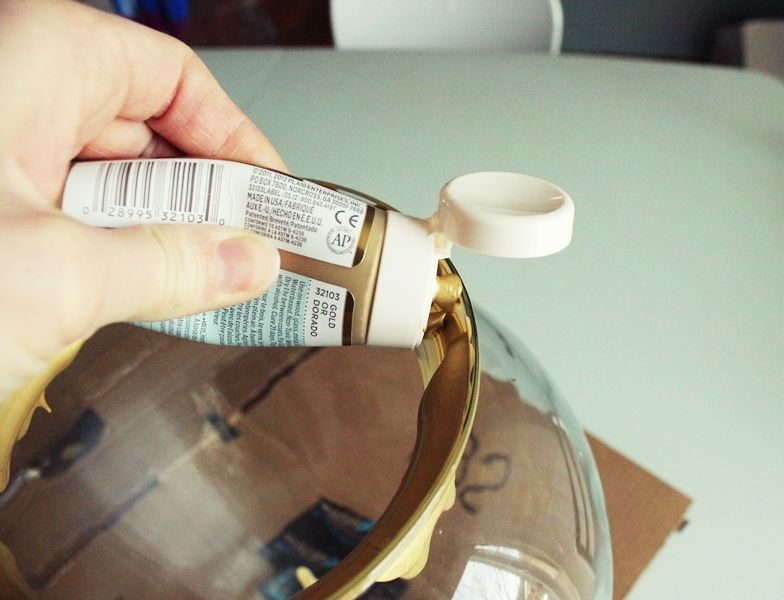
- Gold acrylic/craft paint (used: Martha Stewart metallic gold acrylic paint; almost entire 2 oz. bottle used for this larger-sized vase)
- White latex paint
- Toothpicks/foam brush (optional)

Step 1: Apply drip paint to the inside rim of the glass vase.

While you are probably keen to have your work completed, you’ll enjoy a much more professional look when you take your time with the paint drip art.

To create a drip paint effect, you will need the following materials.

How to fix paint drips? Don’t worry if paint drips down to the bottom of the vase. The paint drips will be easily scraped off before your next paint application when all is dry. Just leave them alone and let them dry at this point.

Squeeze a generous amount of paint all around the inside of the vase rim.
Note: The amount you pour is dependent upon the size of your vase – you want just enough to cover the clear glass.
Step 2: Spread excess drip paint over entire opening.

This means you have to work backward, in a way, starting with whatever color you want as your drip paint effect.
As you can see, this stylish paint drip vase looks fantastic in any room in your home. When completing this drip paint project, ensure you don’t rush any of the stages, especially the drying stage.
Step 3: Allow the paint drips to take shape
You can go for a bold or metallic color for a more striking look, or add a pastel shade for a more subtle cartoon paint dripping effect.
If the rim of your vase has multiple angles, as this one does, you’ll need to apply paint to the “top” of all sections.

Step 4: Wipe the rim.
Pour enough white paint into the bottom of the vase to cover the bottom, about 1/4″.

Wipe off the rim of your glass vase.
Step 5: Let the acrylic paint dripping dry.
Wipe away significant excess; remember, the paint need only be as thick as to appear opaque through the glass.
Paint drip & milk glass vases can make any space unique and artisan. In just a few quick steps, and with easy craft store materials like acrylic paint, you can make a gorgeous painted milk vase in no time.
Simply scrape off the unwanted drips. You can use your fingertip to do this.
Step 6: Remove unwanted paint drips

While drip painting deas are the best way to decorate your glass vases; you can also use colorful tissue paper, or glitter to make a sparkling impact!
Once your paint drips are completely dry, after a few days, you can simply scrape them away with your fingertip or a tool.
Yes, you can spray paint glass vases. Be weary of chips over time.
Note: In this image, the paint drips are metallic gold (Martha Stewart).
Step 7: Add the white paint.

For consideration: This might take a few days, depending on the thickness of your paint. Don’t rush this step as you risk messing up your work so far, and it will be more challenging to remove the unwanted paint drips.
Be aware that on this initial paint layer, the important part is what is seen from the outside of the vase, not necessarily what is seen looking in.

Set your vase in a safe spot, and let it dry thoroughly.
Today, we walk you through the process of creating one. Scroll through to learn how.
When the entire inner vase is covered in paint, let it dry.
This paint drip art project will create a wonderful decoration that you can display in any part of your home, whether that’s the living room, kitchen, or bedroom.
Step 8: Let the paint dry (again)


Step 9: Enjoy your beautiful drip paintings vase
Turn the vase on its side, and slowly work the paint from the bottom of your vase up toward the top.
If you love glass vases, the simple way to hide fake flower stems is to apply a drip painting technique to it. This will make the glass vase opaque, hiding all the fake stems and keeping just the beautiful blooms in view.
Frequently Asked Questions (FAQ)FAQ
how to drip paint?
Note: Don’t worry too much about what the inside of the vase looks like. The inside will be covered with your other paint coat.
how to fix dried paint drips?
Use a foam brush to spread the areas of excess paint toward the areas not yet covered with paint. Cover the opening of the vase.
how to make paint drip?

how to hide fake flower stems in glass vase?
To paint a glass vase, you just need to add about a ¼” of paint to the bottom of the vase itself, and swirl it around until the whole thing is covered. Then, allow it to dry completely.
how to remove paint drips from trim?
If you’re looking to learn how to drip paint, let our quick step-by-step guide help you out. All you need is some acrylic paint, latex paint and a brush to get started with your drip paintings project.
how to fix spray paint drips?

how to decorate glass vases with different things?
Swirl the paint around the vase, covering all sides and clear spaces.
how to paint a glass vase?
The weight of the excess paint is what will form the drips.
can you spray paint glass vases?
At this stage, let the dripping paint technique to run its course, and fall organically.
Conclusion:

Now that the acrylic paint dripping is dry, the excess drips are ready to be removed.
If your spray paint drips, no fear! You can simply let it dry, and then use light sandpaper over the surface to buff it away and start anew.

