I chose a pine, with no finish. If there is a finish on your wood be sure to sand it up before the wood staining begins.

When adding the pictures and accessories have fun with it. The wonderful thing about the picture ledge is you can do a little more then just a gallery wall of pictures. I added some shells, and letters that normally just sit on a table. Also layering the pictures is something that makes picture ledges stand out. I staggered things in front of each other, and mixed canvas and framed pictures.
Materials Needed for the Picture Ledge Shelf
- 4 boards that are 2” wide
- 2 boards that are 1” wide
- sandpaper
- dark walnut stain
- drill
- screws
How to Craft a Picture Ledge
Step 1: Prep the wood


The post DIY Picture Ledge: How to Make a Gallery Wall appeared first on Homedit.
We are almost done, I told you this was a quick project. It took about 45 minutes for the stain to dry. It will feel sticky if it is not dry yet. Time to connect the three pieces of wood together. I set up the two larger ones into an L shape. Then I used a drill to make a hole in the wood. I used three to connect them all together. Making the hole first was best to make the screw go in easier.
Step 2: Stain the boards of your picture ledge shelf


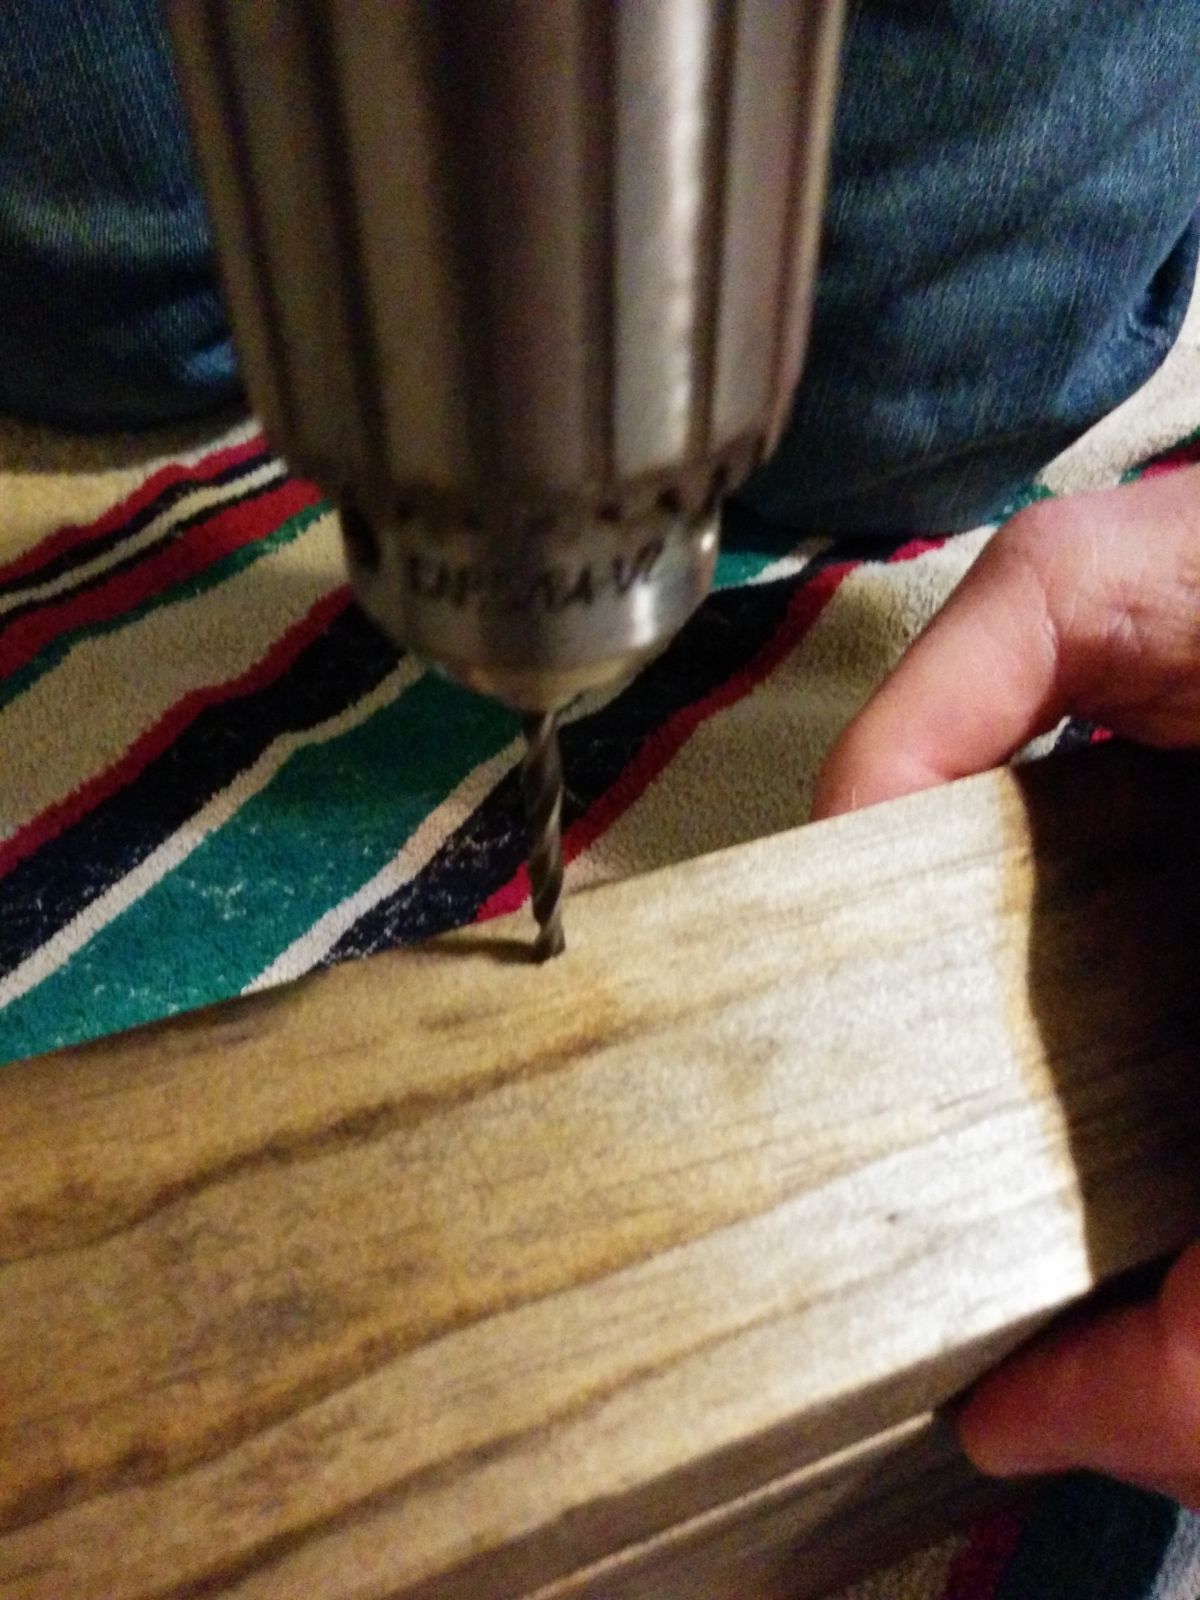
Step 3: Drill the holes in the picture ledge
Looking for some DIY picture ledge ideas? A picture ledge shelf can add a unique design element to any room. Plus, you can create a cool gallery wall! I made a gorgeous rustic DIY picture ledge shelf using just a few things. Learn how to make your own picture ledge shelf and read on!
I stuck to my trusty and loved dark walnut stain. It is dark but allows the wonderful wood grain to show through. I put gloves on, dipped the soft cloth into the stain. Then wipe from left to right going with the wood grain. Be sure to move your hand quickly across. Otherwise there will be some spots where you can see where the cloth initially made contact with the board. Keep it moving and rub it in, you will be good to go. I did one coat. I really wanted to let the grain to show through.
I purchased four 3 ft. longboards that are 2 inches wide. And two 3ft longboards that are 1 inch wide. The two wider ones will be the back and bottom. And the smaller width one will be the front ledge.
Step 4: Mount the picture ledge shelf onto the wall with screws
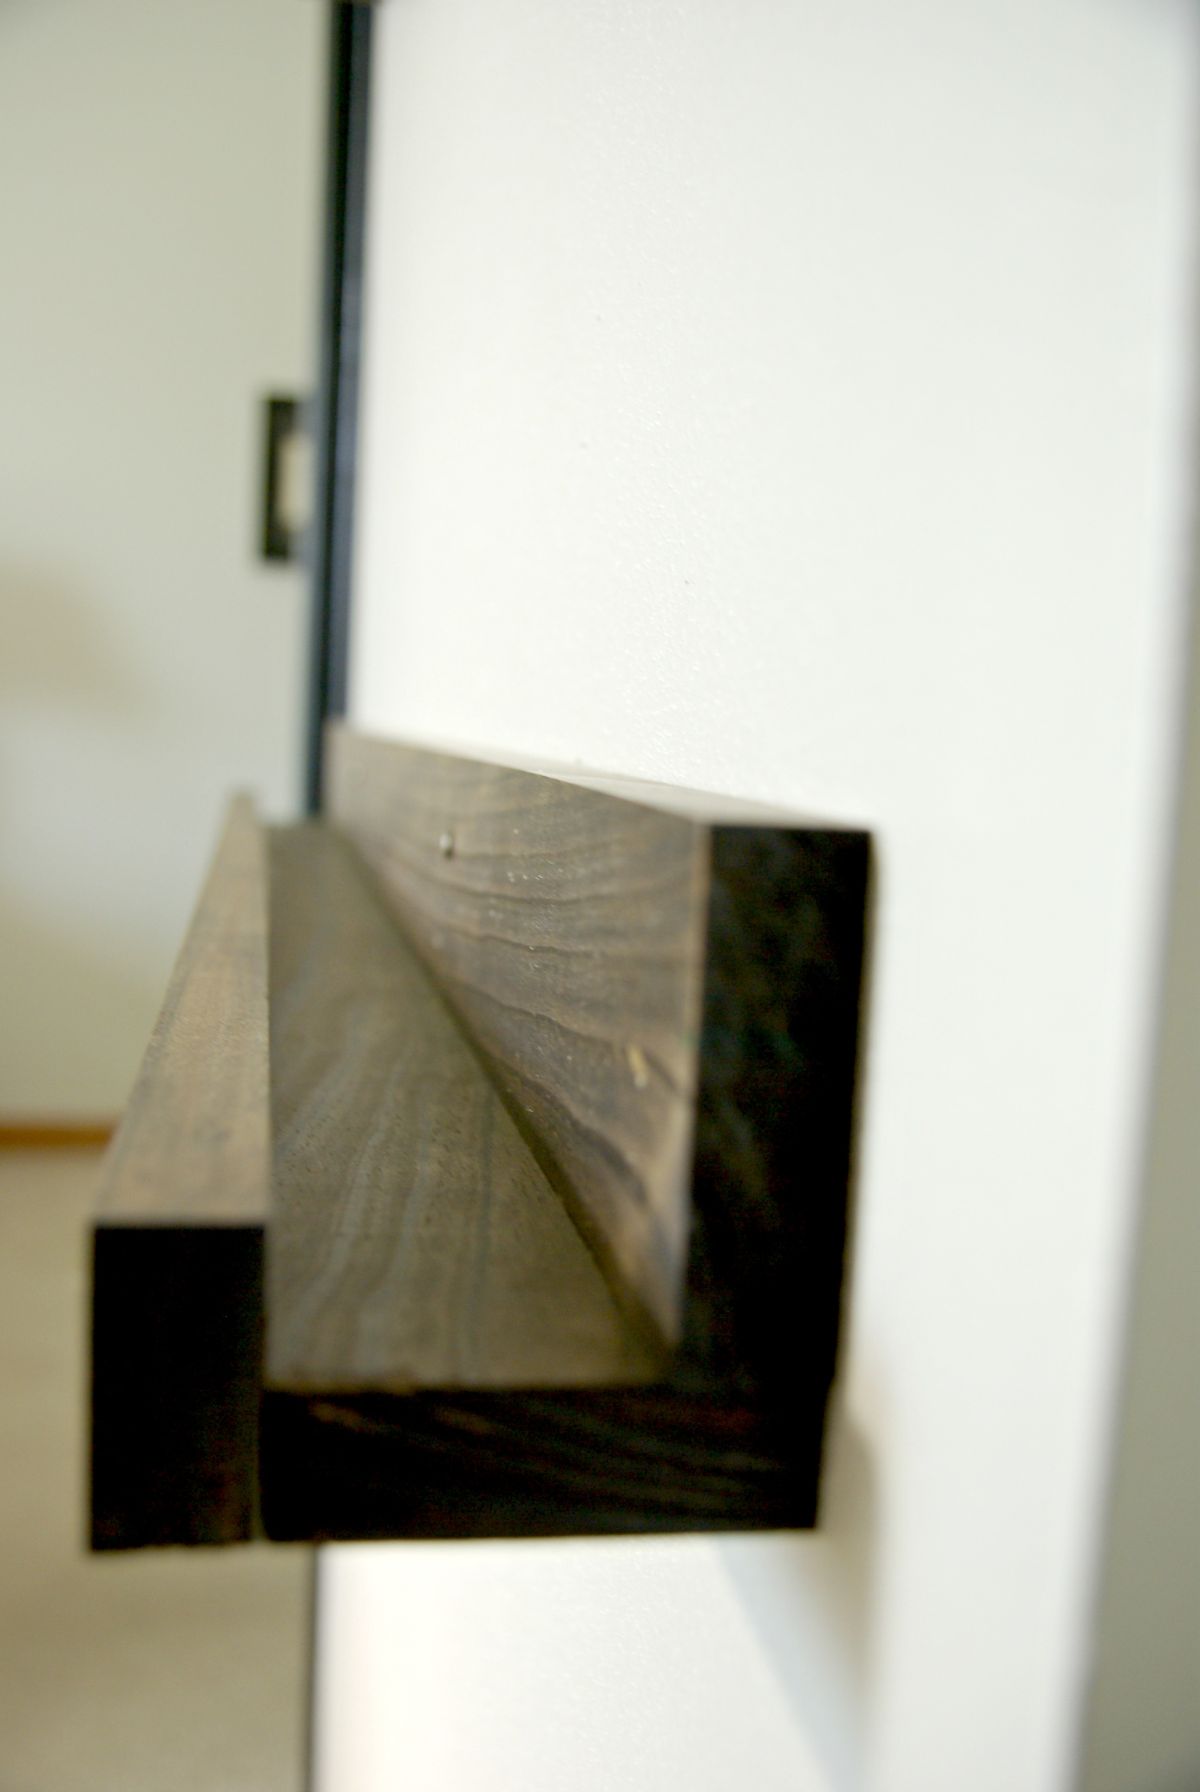
As you can see, it was a really simple L shape with a front ledge. When staining or painting the wood be sure to turn them over and paint both sides and the edges. They will be seen a lot more then a standard shelf.


When building your picture ledge be sure to keep in mind the placement of it. Where they work best is on a wall that cannot hold a standard shelf or table, but needs a little something. A high traffic area is where most picture ledges find their home, but with it being high traffic areas be careful to not have it come out of the wall too much. You could have people hit it. The one I made being about 2 1/2 inches away from the wall and on a corner does not cause any issues with running into it. Just enough to make it noticeable and not dangerous.

Step 5: Add pictures to your DIY picture ledge shelf

I attached it to the wall by using two screws in the back of the wall. Really simple. If you plan to have heavy things displayed on the picture ledge putting in drywall anchors or finding a stud to screw in will be needed. I added quite a bit to my picture ledge using no anchors or anything. It is holding up fine.
I tried to add color, but not too busy. Each space needs a certain amount of busy. Some can handle more and some need less. You can and should add other keepsakes then just the pictures. That is what makes the picture ledge stand out. It becomes personal.
Picture ledges are a great and modern way to dress up space. You can dress them up minimally or add layer upon layer to it. It is a wonderful update to the standard picture gallery wall.
I have so many gallery wall collages so something a bit different was in order this time. A picture ledge shelf is the way I decided to go. You can follow this tutorial to make one for yourself.

For these picture ledges to work best, they work in at least pairs. So two is the minimum, Also if it can be placed on a wall where the length of the picture ledge shelf can go from one side to the other is great as well. It makes the picture ledge have the biggest impact.
The screw can now go into the hole and not split the wood. The hard part of creating the hole has already been done. With the first two boards attached, then attach the same way with the smaller front ledge. You can either use wood glue or screws. I did not have any clamps to hold the ledge in place so wood glue was out for me. But the front screws really blend into the wood and are not seen at all.


